By Taylor Gilmore
Granola bars are a popular food choice and a staple in my diet because they are so quick, and easy to grab on the go. When I was recently asked to try a gluten free diet due to some repeated stomach discomfort, not being able to eat my precious granola bars was one of the hardest parts.
Gluten is a protein found in wheat that is responsible for the elastic texture of dough. To put it simply, if you have a gluten allergy you can’t eat wheat, barley or rye, which doesn’t leave many options. You’d be surprised to know how many foods actually contain gluten, especially those that are processed.
I decided to take matters into my own hands and make my own gluten free granola bars. I started by finding a few granola bar recipes, and then transforming them into my personalized, gluten free version. Even if you don’t have a gluten allergy, these granola bars are worth a taste.
Ingredients:
2 ½ cups of gluten free old fashioned rolled oats (use products that aren’t gluten free if you can because they tend to be pricier)
¾ cup of gluten free vanilla granola
½ cup of dried cranberries
½ cup of chopped almonds (use any type of nuts and dried fruits that you like)
½ cup honey (or maple syrup, try agave nectar for a healthier option)
1/3 cup light brown sugar
¼ cup unsalted butter
1 tsp of vanilla extract
a dash of salt
¼ cup of dark chocolate chips (use any chocolate you want)
¼ cup of peanut butter chips (butterscotch is another great idea!)
5 Easy Steps:
- Start by putting the oats, granola and almonds in a pan in the oven at 350 until they are toasted.
- In a saucepan, mix the butter, honey, brown sugar, vanilla extract and salt. Stir the mixture until the butter melts and the sugar completely dissolves.
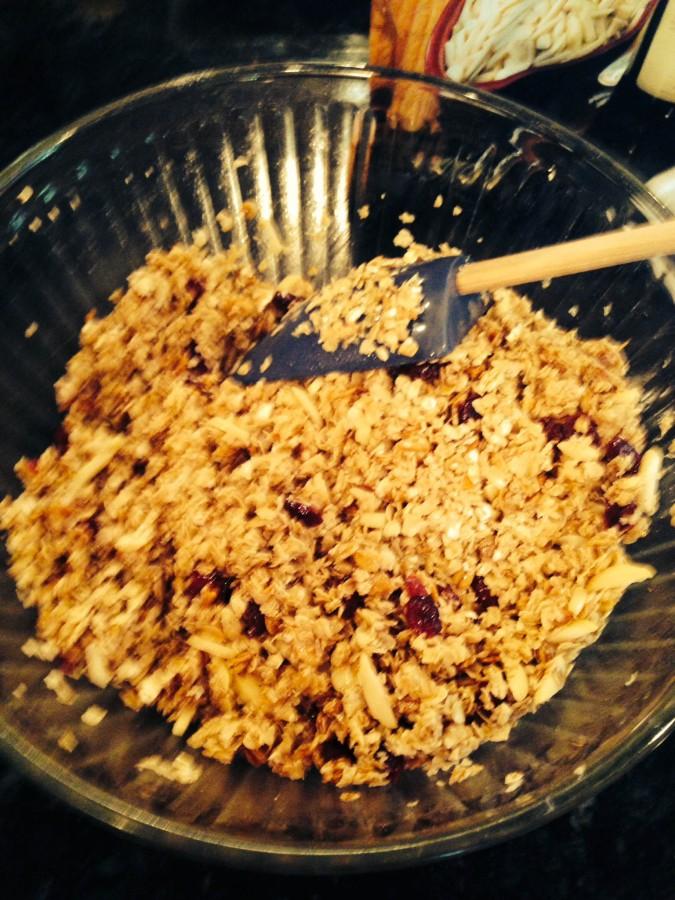
- Combine both mixtures into a bowl and mix well. If the ingredients don’t seem to be sticking well, add a little more honey for glue. Let it cool, and then add cranberries, chocolate and peanut butter. (If they melt a little bit, that’s okay!)
- Transfer this oat mixture into a pan lined with tin foil and use either damp hands or a rubber spatula to push the granola mixture together. (They sell disposable tin foil pans that are perfect for these bars! No lining necessary and no mess.) The more you press, the more likely you are to have granola bars and not just granola.
- Put your granola bars in the fridge for a couple hours (I usually leave them overnight) and cut them into pieces. Viola!
These bars are very versatile and a great snack. I hope to try them with Nutella sometime, because what isn’t better with Nutella? Be creative and see what amazing combinations you can make. Enjoy!


